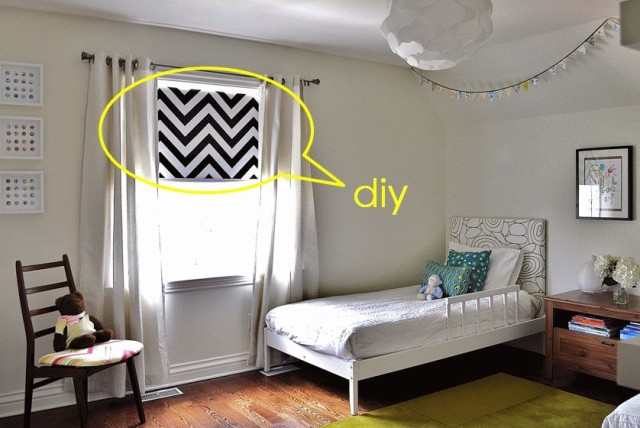
If you want to create impactful and simple window treatments that are totally unique, all you need is a few yards of fabric, some colourful ribbon that matches the room decor, a roll of fusing tape, a curtain rod with paperclip style hooks, and a wooden dowel or a wrapping paper tube.
Is this project easy? Absolutely! If you can iron, you can make these adorable draping blinds, complete with girly bows if you want, in less than two hours! Here is how…
Measure the width and length of the window. For this project, you don’t want to add volume so the width of fabric needed will be the same as your curtain rod. However, when you cut your fabric, allow one extra inch on all sides for hemming.
Once your fabric is cut, heat up your iron, setting it to the ‘cotton’ or ‘linen’ setting. Start turning in and ironing down your 1” hem on all sides – this will make it easier to attach the fusing tape and ensure all your sides are straight and even. Next, using your no-sew fusing tape, insert a length of tape within your newly ironed hem pocket and hold the iron firmly for 10-15 seconds. Repeat until all sides are hemmed and the material is fused together tightly. Tip: If you are using light cotton or linen, use a protector cloth between your fabric and the iron so it doesn’t scorch.
Install your curtain rod on the window if you have not already done so and simply hang the fabric panel from the paperclip style hooks. If you want a unique look, you can spray paint the rod and clips to match the colours in your room or paint them the same colour as the wall paint and make them disappear.
Adding ties or bows: Cut two or three lengths of your chosen ribbon – each piece of ribbon should be at least three times the length of your window. As an example, if your window is 60” long, cut each ribbon 180” long. You can always trim it later on if it’s too long but longer makes a much better bow! Once cut, drape each ribbon over the top of the curtain so it hangs down on each side. You can do two ribbons or three – it is completely up to you! If you aren’t into bows, you can also use the fusing tape to attach the ribbon to your panel as a unique detail.
It’s time to roll… If you have a thin piece of wood or wooden dowel that is the width of your drapery panel, that will work nicely and give it some weight. If you don’t, you can use a heavy cardboard tube, similar to those found on the inside of a wrapping paper roll. It depends on whether you want a round bottom or a more modern flat bottom. Line up your wooden dowel or tube with the bottom of the panel and start rolling inwards, towards the wall so the seams do not show. It is best to roll slowly so you can keep it nice and neat and even on both sides. On most windows, it looks best if you leave about 1/3 of the bottom window exposed but if you have toddlers you might want to roll it up half way to make sure little hands don’t get hold of it.
When you have reached your desired curtain panel length, bring the back and front ends of each ribbon together and tie them into a big, lovely bow. And there you have it – sweet and functional window treatments for your room, your personality and were made with love by you!


