
























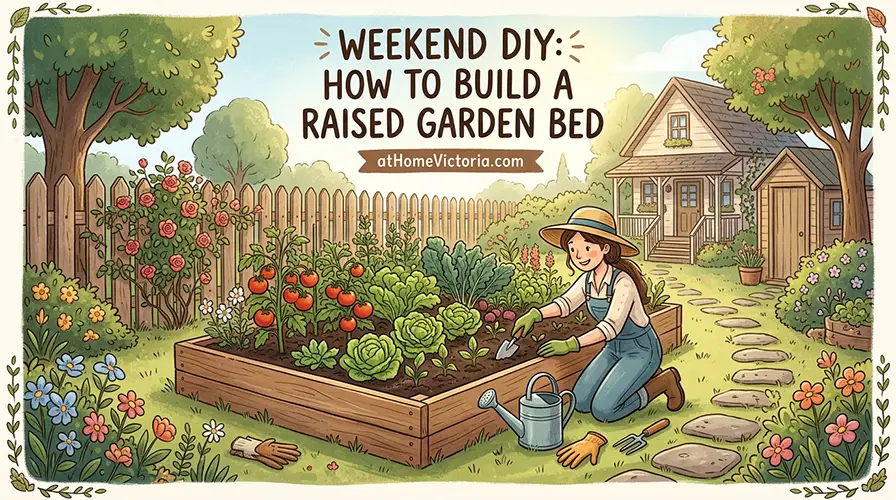
A raised garden bed is one of the most beginner-friendly weekend projects out there — no power tools required beyond a drill, no carpentry experience needed, and you can have it built and filled with soil in an afternoon. It’s also one of the best upgrades for anyone gardening in Victoria’s clay-heavy soil, since a raised bed lets you control drainage and soil quality from the start instead of fighting what’s already in the ground.
Here’s how to build one in a single weekend.
What You’ll Need
- 6 cedar boards (2″ x 8″ x 8′, untreated cedar holds up best outdoors without leaching chemicals into your soil)
- 4 corner posts (4″ x 4″, cut to your desired height)
- Exterior-grade wood screws
- A drill/driver
- A level
- Landscape fabric (optional, to line the bottom)
- Soil and compost to fill the bed
A standard 4′ x 8′ bed is the easiest size to start with — wide enough to grow a good amount, but still narrow enough to reach the center from either side without stepping into the bed.
Step 1: Choose and Prep Your Site
Pick a spot that gets at least six hours of direct sun a day, ideally more if you’re planning to grow vegetables. Clear the area of grass and weeds, and rake it as level as you can — a raised bed doesn’t need a perfectly flat foundation, but starting close to level will save you headaches later.
Step 2: Cut Your Boards to Size
For a 4′ x 8′ bed, you’ll need:
- 4 boards cut to 8 feet (the long sides)
- 4 boards cut to 4 feet (the short sides)
Most lumber yards will cut boards to length for you if you don’t have a saw at home, which is worth asking about when you buy your materials.
Step 3: Assemble the Frame
Stand two long boards and two short boards up against each other to form a rectangle, with the corner posts on the inside of each corner. Drill through the boards into the posts, two screws per board end, to lock the first layer together. Repeat with the second layer of boards on top, staggering the screw placement slightly so you’re not driving into the same spot twice.
Use your level as you go — check each side after you’ve assembled the first layer, before adding the second, so any adjustments are easy to make.
Step 4: Set the Bed in Place
Move the completed frame to your prepped site. Check it’s level in both directions, and adjust by digging out high spots or adding a thin layer of sand under low corners if needed.
Step 5: Line and Fill
If you’re placing the bed directly on grass or weedy soil, a layer of landscape fabric or flattened cardboard on the bottom will help block anything from growing up into your bed. From there, fill with a mix of quality garden soil and compost — a rough guide is 60% soil to 40% compost, which gives new plants a strong start without needing much additional fertilizer in the first season.
Step 6: Let It Settle Before Planting
Give the soil a day or two to settle after filling, watering it lightly once to help it compact naturally. Top up with a bit more soil if it settles more than an inch or two, then you’re ready to plant.
Want to Go Deeper?
This weekend version will get a basic bed up and growing, but if you’re looking to get more serious about raised bed gardening — soil composition, drainage, irrigation, and season-by-season planning — How to Build a Raised Garden Bed: Planning, Building, And Planting Using A Raised Garden Bed by Richard Gordon is a solid, beginner-friendly next step. It walks through the planning side in more depth than a single blog post can, which is worth it if this is the first of several beds you’re planning to build.
A raised garden bed is one of the highest-payoff weekend projects you can take on — a single afternoon of building gets you a garden that’s easier to maintain, better drained, and far less at the mercy of Victoria’s clay soil than planting directly in the ground. Build one this weekend, and you’ll likely be planning where the second one goes by next month.