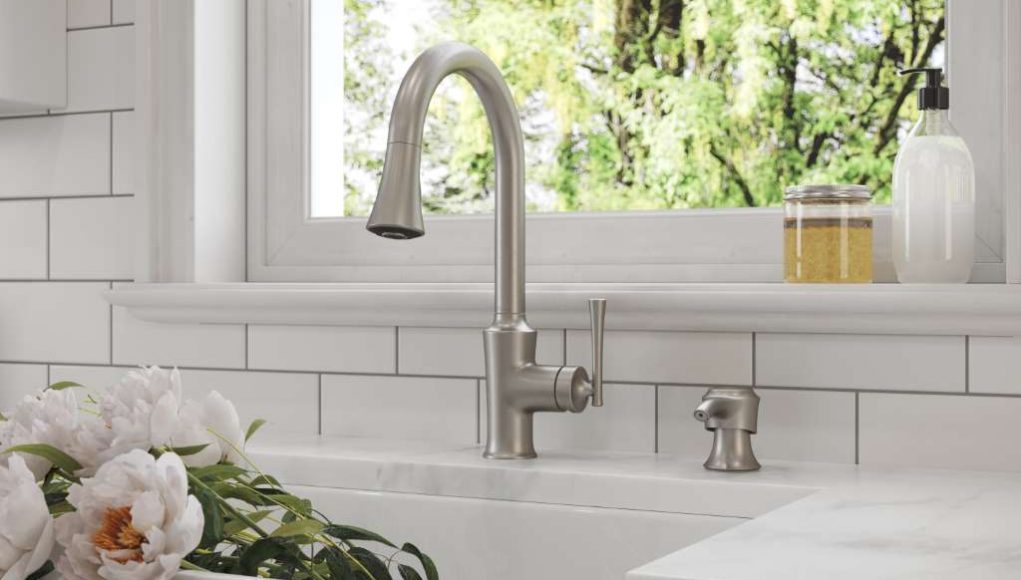
It’s amazing the difference a new faucet can make on the look, feel and functionality of your kitchen.
More affordable than a full-blown renovation of your kitchen, a new faucet is a dash of updated, and accent of colour and may offer new features and capabilities that you didn’t have with your old faucet. Installing a new faucet can be an intimidation prospect — even though it shouldn’t be. You can pay a professional to do the job, but the reality is installing a faucet is something that can be done by the minor-level handyman.
“This is a home improvement job that is much easier than many people think,” says Kevin Russell, Director of Sales for Pfister Faucets, a division of Spectrum Brands Holdings Inc. “Every Pfister faucet comes with detailed and easy to follow instructions, and even if you get stuck we have video tutorials on the Pfister YouTube channel to help you past any hardships.”
While each family of faucets may have nuances specific to it, here are 10 basic tips for installing a one-handle pull-down kitchen faucet:
- Get Your Tools Ready — Rather than running back and forth, get all the tools you will need for the job and have them on hand. For the easy installation of a Pfister faucet, you will need a Phillips screwdriver, two adjustable wrenches and safety goggles. It may also be helpful to have a bucket, several cloths or rags handy, as well as a flashlight.
- Turn off the Water — Unless you want to be cleaning up a mini-flood, start with shutting off the water supply to the area. Many newer kitchens will have shut off valves under the sink, but if it has been a while since your home has been built or your kitchen upgraded, you may have to shut off the main water valve serving your house.
- Remove the Old Faucet — Under the sink, you will find bolts holding the old faucet in place. Undo these as well as the feeds coming from the main water pipes — there should be two of them, one hot and one cold. Once everything is undone, remove the old faucet and clean the mounting area around the sink thoroughly.
- Prep the New Faucet — Before getting to the actual installation, unscrew the hose protector from the bottom of the shank and the quick connect diverter valve to ensure the hoses of the new faucet will fit through the hole on the sink. Pull the faucet nozzle until the end of the hose sits at the end of the shank.
- Put the New Faucet in Place — If you have three holes in your sink for a faucet, use the deck plate provided; put on the bottom of the faucet and place it over the middle hole, feeding the supply lines through the hole and under the counter. If you have only one hole on the sink, no need for the deck place. Use a single-post ring around the base of the faucet and put in place over the hole.
- Secure the Faucet — From under the sink, slide on the plastic and horseshoe metal washer provided, then screw the mounting nut onto the shank. Ensure the faucet is aligned properly then tighten the nut with your adjustable wrench. Most Pfister faucets have a special installation tool that comes with the faucet that will assist in this step.
- Make the Connections — Replace the hose protector and add the weight that counterbalances the pull-down nozzle by threading the pull-down hose through it. Re-attach the quick connect diverter to the hose and hand tighten firmly. Then connect the diverter to the inlet line and ensure it is secure.
- Connect to the Water Lines — The hot water line on the faucet is typically marked. Use plumber’s tape to wrap the threads of the water supply coming out of the wall or floor under the counter, and screw on the water hoses from your faucet — hot always connects to the left inlet and cold is on the right. Use the adjustable wrench to ensure they are tight.
- Check for Leaks — Turn on the hot and cold water valves and ensure there are no drips or leaks. If all looks good, you are done under the sink.
- Flush the Faucet — Back on top side, unscrew the spray head from the pull-out hose. Hold the hose into the sink and run it full on, both hot and cold, for 15 seconds to clean out the system. Reattach the spray head and test it for leaks, and ensure it works in both stream and spray functions.
And that’s it! You’re done and free to enjoy your new faucet. For more information on Pfister Faucets, please visit pfisterfaucets.ca.


